

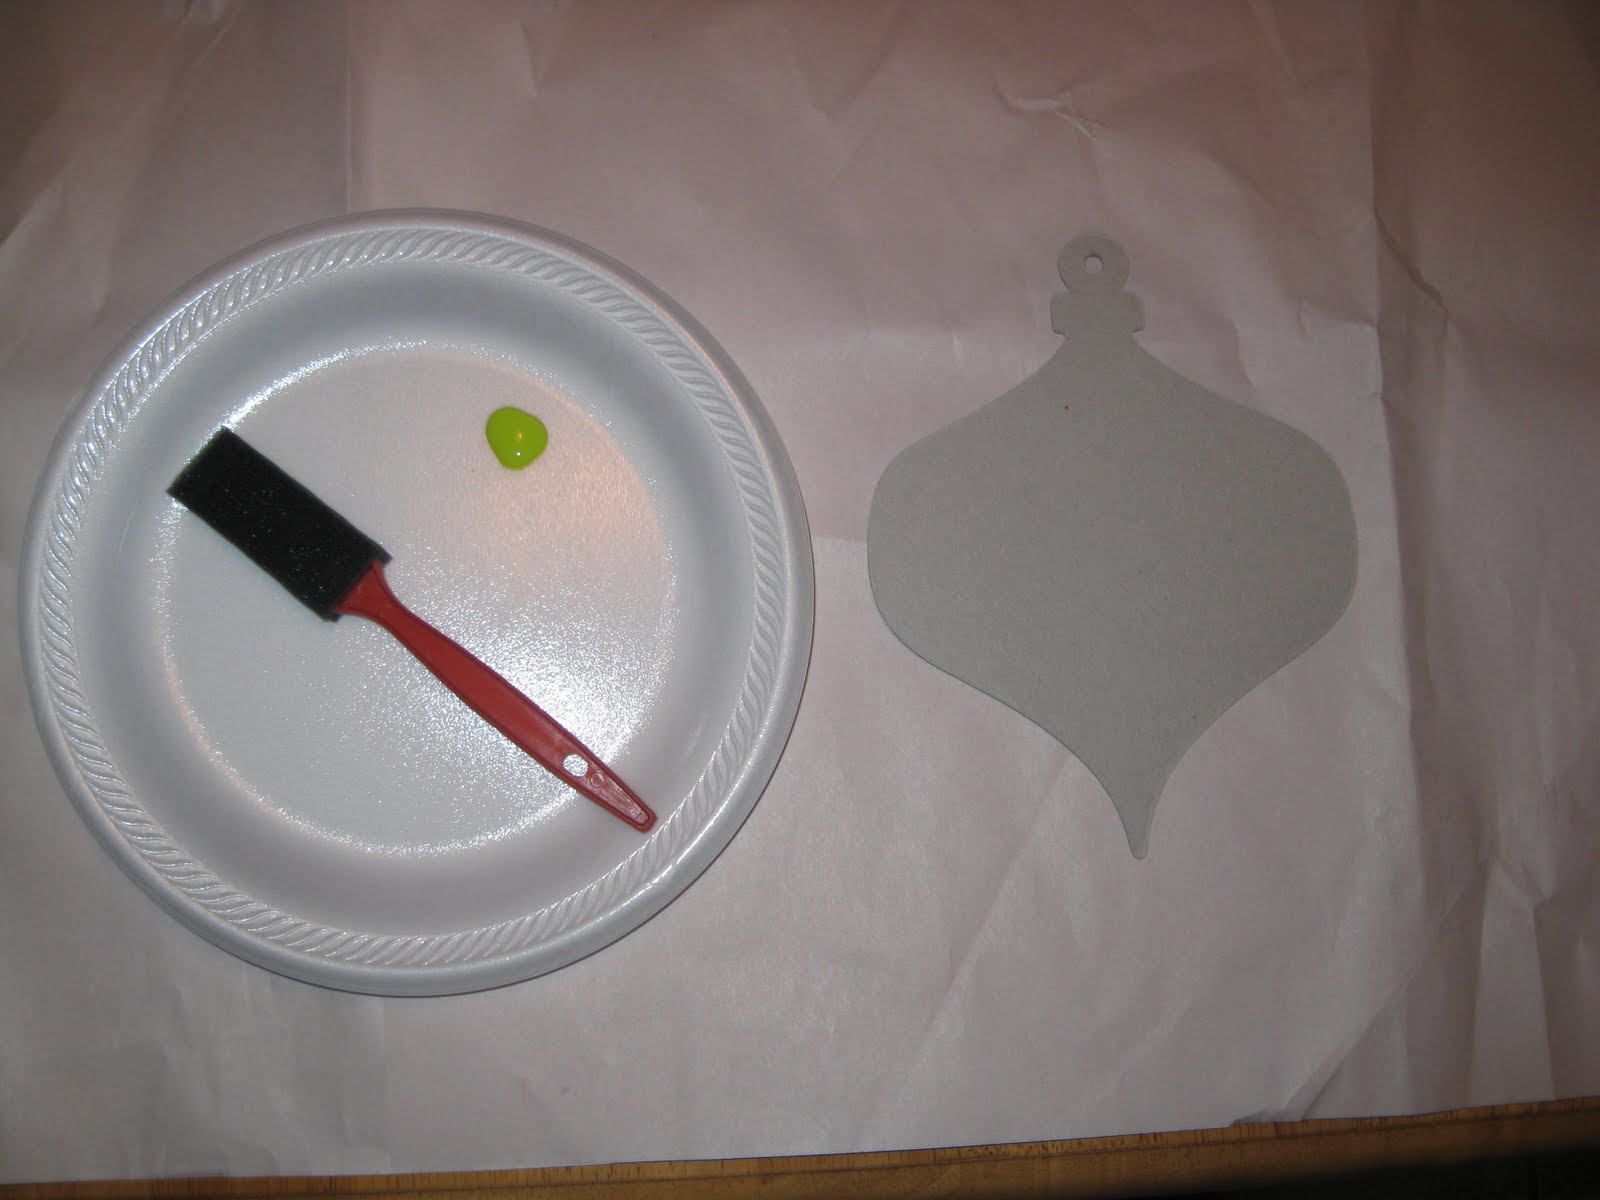
Here are the supplies I gathered in order to complete the project. I didn't like the "natural" color they were, so I decided to paint the side that would not be covered by paper. For those of you who are "over-achievers" you could always cover both sides of the ornament and double the fun...but PS...this is double the work too. So I only painted one side and scrapbooked the other. Now back to the supplies...you will need a variety of scrapbooking paper, spray adhesive (I love this stuff), a very sharp exacto knife, a cutting board or surface that you can cut on and not ruin, a hole punch, foam paint brush, mini paints, a small block hand sander and free time to CREATE!

Here's an up-close of all the papers I used...and get this...they were all on SALE!

The first thing I had to do was paint one side of the ornament. I chose a great snow white and granny apple green. The colors on my tree are white, green (but not your traditional Christmas greed) and red of course.

After I painted one side of all the ornaments, I let them dry really good before I went on to the next step. From here on out...this project is EASY-PEASY!
Make sure your spray adhesive, exacto knife and cutting board are close-by. Spray the side that was left unpainted with the adhesive. Quickly press the ornament (sticky side down) onto the backside of a selected scrapbook paper (you want the pretty side to be showing on the ornament of course)! Use your hands and really smooth the paper out and make sure there aren't any wrinkles. Press...Press...Smooth...Smooth. Then you flip it over and use your exacto knife to cut out/trim the excess paper from the ornament shape. You should be able to get a very very detailed cut if you have a good knife. The paper will be flush with the edges of the ornament. Then once the whole thing is cut out, you take your hand sander and run it all along the edges to make the paper and ornament appear seamless. Just lightly rubbing will do the trick...don't get carried away. These ornaments already had a hole in the top of them, so I took the hole punch and punched it out...which was perfect...because otherwise I wasn't sure how I was going to cut out that tiny hole! When you are done...let it sit for a little bit to dry...but that's it...your done! Here are the 4 patterns I used on my ornaments...what do you think?


I have always made most of the ornaments that were on my tree, aside from the store bought Christmas balls. I just LOVE this time of the year so much...and it gets me in the CREATIVE spirit. I cant wait to get the decorations up and share those with you too. It wont be long...


4 comments:
SOOOO CUTE!!!!!!!!!!!!! We had fun last night can't wait to do it again!!! and P.S. your little angel was an ANGEL!!!!!!!!!!!!!
Oh my...those are precious. Now watch them all be gone when I get to the store. I love them. They would be perfect at my new house!!!
Those are cute! I think they would be cute on a wreath or on garland around a door frame! Or even hang them on a mantle or something and write letters on them to spell out Merry Christmas! So many uses! The stuff on my tree is a mesh ribbon...I got the silver at Hobby Lobby and they only had one role. The red, Whitney ordered online, and I bought it in green too, but had to take it off after I put it on and realized it clashed with my green ornaments! I had to cut in down the middle though and it kind of raveled, so the kind at Hobby Lobby worked much better!
You are so talented!!! I can't wait to see them on your tree. Post a picture as soon as you get it up! :)
Post a Comment